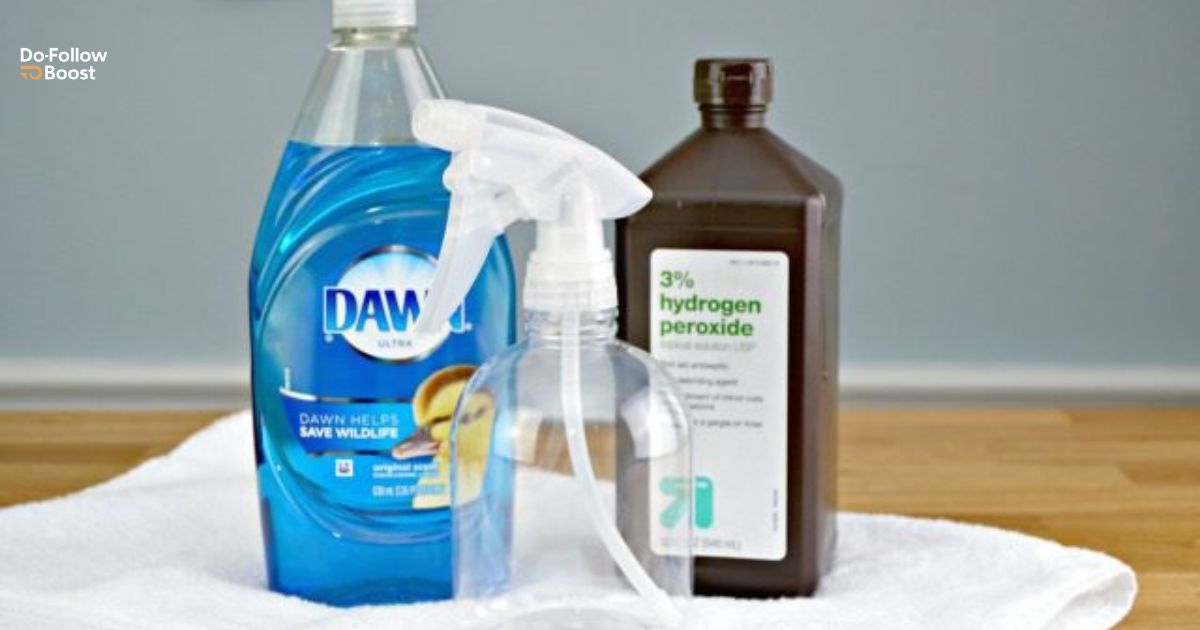
Tired of stubborn stains ruining your clothes? DIY stain removers offer effective and affordable solutions. This article explores the best homemade stain remover recipes. Learn how to make powerful cleaners using simple ingredients. Say goodbye to tough stains with these easy methods.
What’s In This Homemade Stain Remover?
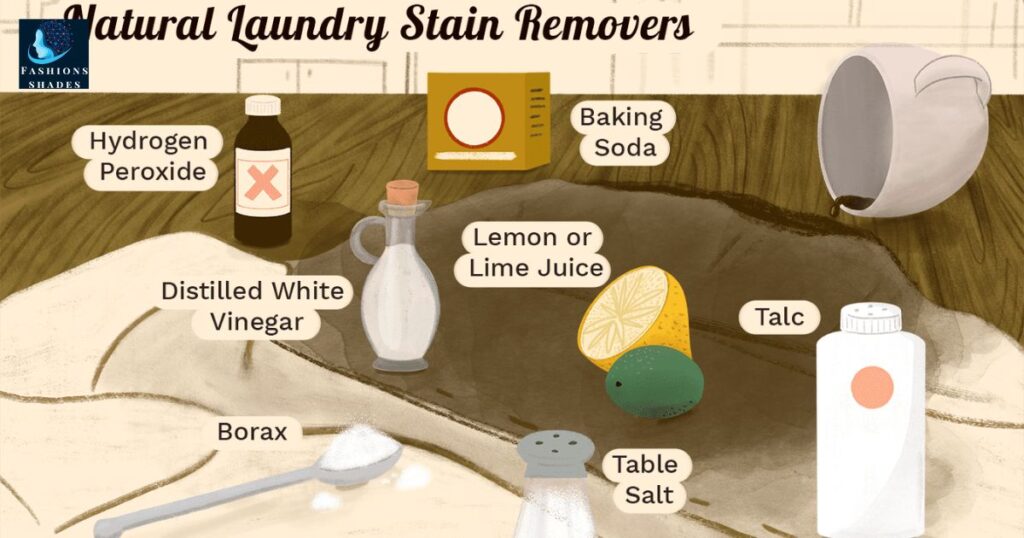
Common household items make excellent stain removers. White vinegar, baking soda, and dish soap work wonders. These ingredients are safe and environmentally friendly. They effectively tackle various types of stains.
Hydrogen peroxide is another powerful stain fighter. It works well on organic stains like food. Lemon juice acts as a natural bleaching agent. Essential oils can add pleasant scents to your mixture.
How To Make My Ultimate Stain Remover Spray
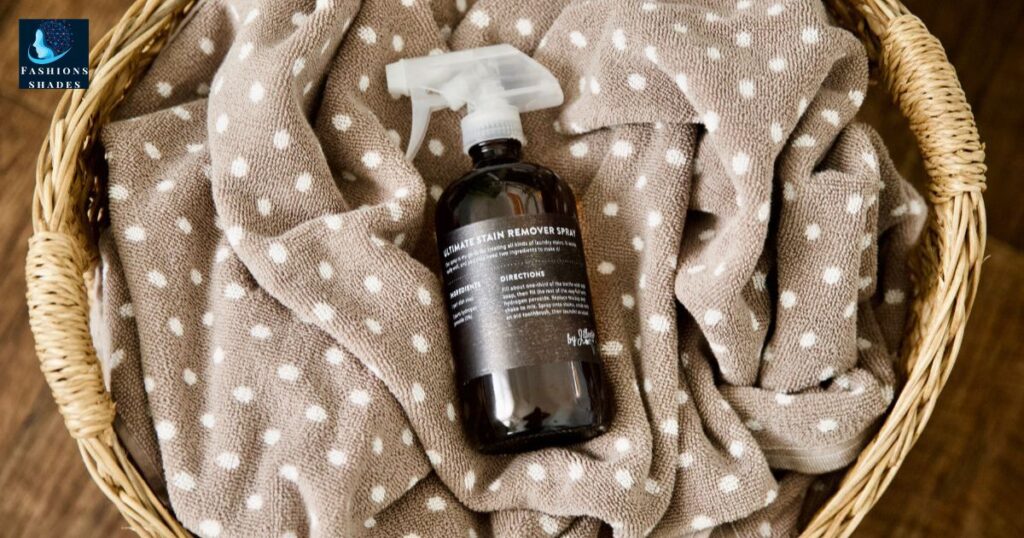
Creating a stain remover spray is simple. Mix equal parts water and white vinegar. Add a tablespoon of dish soap to the solution. Shake well to combine all ingredients thoroughly.
For tougher stains, add baking soda. This creates a paste-like consistency for scrubbing. Pour the mixture into a spray bottle. Label it clearly for easy identification later.
Best Ingredients for an Effective Homemade Stain Remover
Choosing the right ingredients is crucial. Vinegar breaks down dirt and grime effectively. Baking soda absorbs odors and lifts stains. Dish soap cuts through grease and oil spots.
Hydrogen peroxide works well on light-colored fabrics. It has mild bleaching properties for whites. Lemon juice is great for brightening clothes. Castile soap is a gentle option for delicates.
Step-by-Step Guide to Making Powerful Stain Removers
Start by gathering all necessary ingredients. Measure out equal parts of each component. Combine them in a large mixing bowl. Stir gently to avoid creating too many bubbles.
Transfer the mixture to a spray bottle. Shake well before each use for best results. Test on an inconspicuous area first. Apply directly to stains before washing clothes.
Read This Blog: What’s The Best Toilet Paper? I Tested 5 To Find Out
How To Use This DIY Laundry Stain Remover
Apply the remover directly to the stain. Let it sit for 5-10 minutes before washing. For tough stains, gently scrub with a brush. Rinse with cold water before machine washing.
Always check garment care labels first. Some fabrics may require special treatment. Use the stain remover as a pre-wash treatment. Follow up with regular laundry detergent for best results.
Quick DIY Stain Remover Hacks You Need to Try
Mix baking soda and water for paste. Apply to grease stains and let dry. Brush off and wash as usual. Lemon juice works well on sweat stains. Apply, let sit in sunlight, then wash.
For ink stains, try rubbing alcohol. Dab gently, don’t rub to avoid spreading. White vinegar removes deodorant marks effectively. Soak fruit stains in milk before washing.
How to Boost Your Stain Remover for Tough Spots
Add a teaspoon of borax for extra power. It enhances cleaning properties of other ingredients. Use warm water to dissolve ingredients better. This increases the solution’s stain-fighting ability.
For set-in stains, try soaking overnight. Add oxygen-based bleach to brighten whites. Enzyme cleaners work well on protein-based stains. Always rinse thoroughly after treating tough spots.
Homemade Stain Remover That Works on Every Fabric
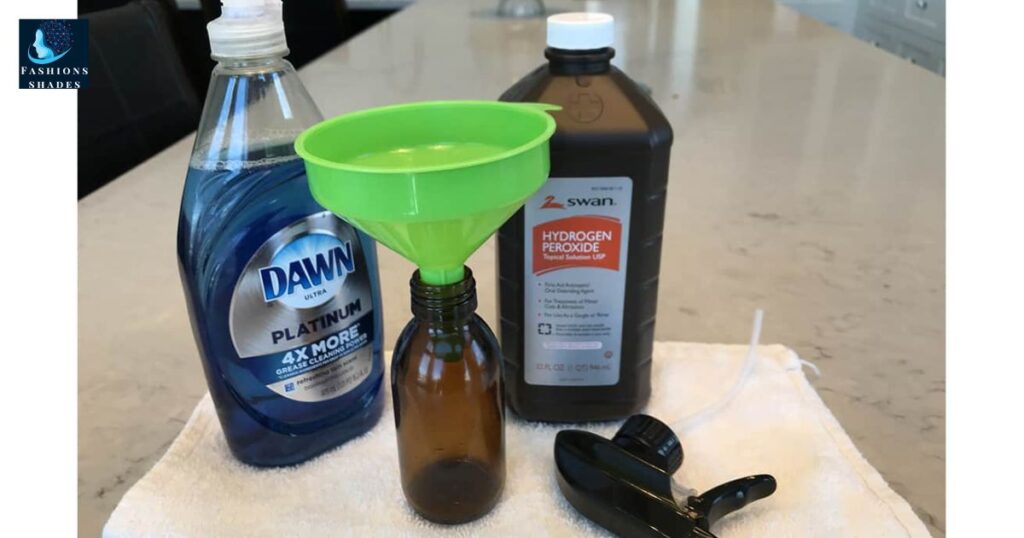
Create an all-purpose stain remover solution. Mix equal parts vinegar, water, and dish soap. Add a tablespoon of baking soda. This combination is safe for most fabrics.
Test on delicate fabrics before full application. Adjust ratios for specific stain types. Use cold water for protein-based stains. Warm water works better on oily stains.
Read This Blog: Crocs Cowboy Boots: A Real Horseman’s Ranch Test
See The Results For Yourself!
Try this DIY stain remover on various stains. Compare results with store-bought products. Take before and after photos to track progress. Share your success stories with friends and family.
Many users report amazing stain removal results. Even old, set-in stains often disappear. The natural ingredients leave clothes smelling fresh. You’ll likely save money compared to commercial products.
Natural Stain Remover Recipes for Eco-Friendly Cleaning
Eco-conscious cleaners prefer natural stain removers. Lemon juice and salt make an effective paste. Coconut oil can tackle grease stains naturally. White vinegar and baking soda are versatile cleaners.
These ingredients are biodegradable and non-toxic. They’re safe for use around children and pets. Natural removers reduce chemical exposure in your home. They’re also gentler on fabrics in the long run.
Top Mistakes to Avoid When Using DIY Stain Removers
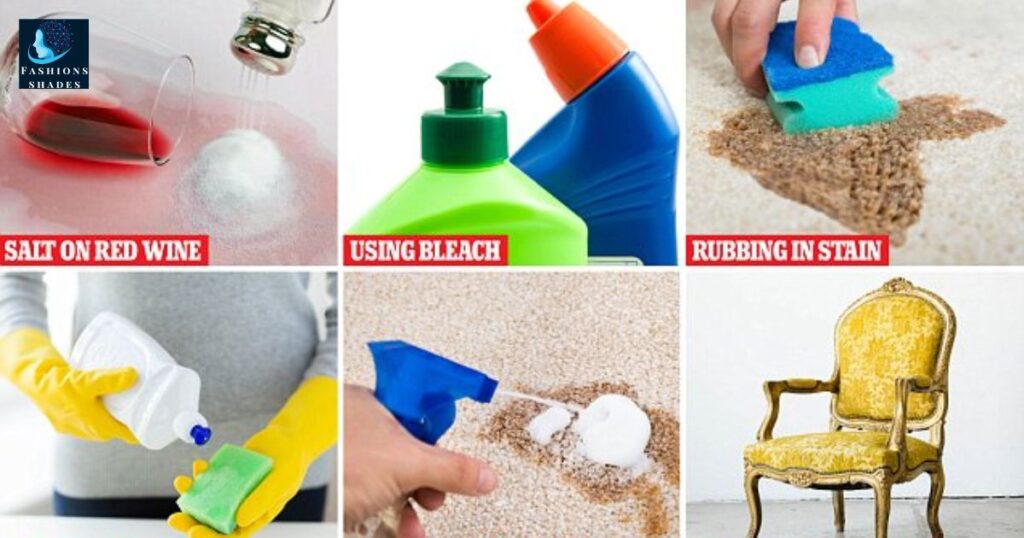
Don’t use hot water on protein stains. It can set the stain permanently. Avoid rubbing stains aggressively. This can spread the stain further. Always test on a hidden area first.
Don’t mix bleach with other cleaning products. This can create harmful fumes. Avoid using too much product. Excess can leave residue on clothes. Don’t let stains sit untreated for too long.
The Science Behind DIY Stain Removal Techniques
Understanding stain chemistry improves removal techniques. Different stains require different treatment approaches. Acidic solutions work well on alkaline stains. Alkaline solutions tackle acidic stains effectively.
Surfactants in dish soap break down oily stains. Oxidizing agents like hydrogen peroxide lift color stains. Enzymes in biological cleaners break down proteins. Knowing these principles helps choose the right treatment.
Keep This Recipe Handy With A Set Of Spray Bottle Labels!
Label your homemade stain remover clearly. Include ingredients list and usage instructions. Use waterproof labels to prevent smudging. Keep bottles out of reach of children.
Create a stain removal station in your laundry room. Include different solutions for various stain types. Organize bottles by stain category for easy access. Regularly check and refill your stain remover supply.
Frequently Asked Questions
How long should I leave the stain remover on?
Generally, 5-10 minutes is sufficient. For tough stains, you can leave it longer.
Can I use these DIY removers on all fabrics?
Most are safe, but always test on an inconspicuous area first.
How often should I make a new batch?
Make small batches and use within 1-2 months for best results.
Are these DIY removers safe for colored clothes?
Most are safe, but avoid using hydrogen peroxide on colored fabrics.
Can I use hot water with these stain removers?
Use cold or lukewarm water. Hot water can set some stains.
Conclusion
Homemade stain removers offer effective and eco-friendly solutions. They’re easy to make with common household ingredients. These DIY methods often outperform store-bought products.
Experiment with different recipes to find your favorite. With these tips, you’ll become a stain-fighting expert. Say goodbye to stubborn stains and hello to cleaner clothes.

Hayyat is an experienced content writer and digital marketer, skilled in creating SEO-friendly content that resonates with audiences. She helps brands enhance their online presence through targeted campaigns, with expertise in blog writing, social media management, email marketing, and SEO optimization.

